Skip to content

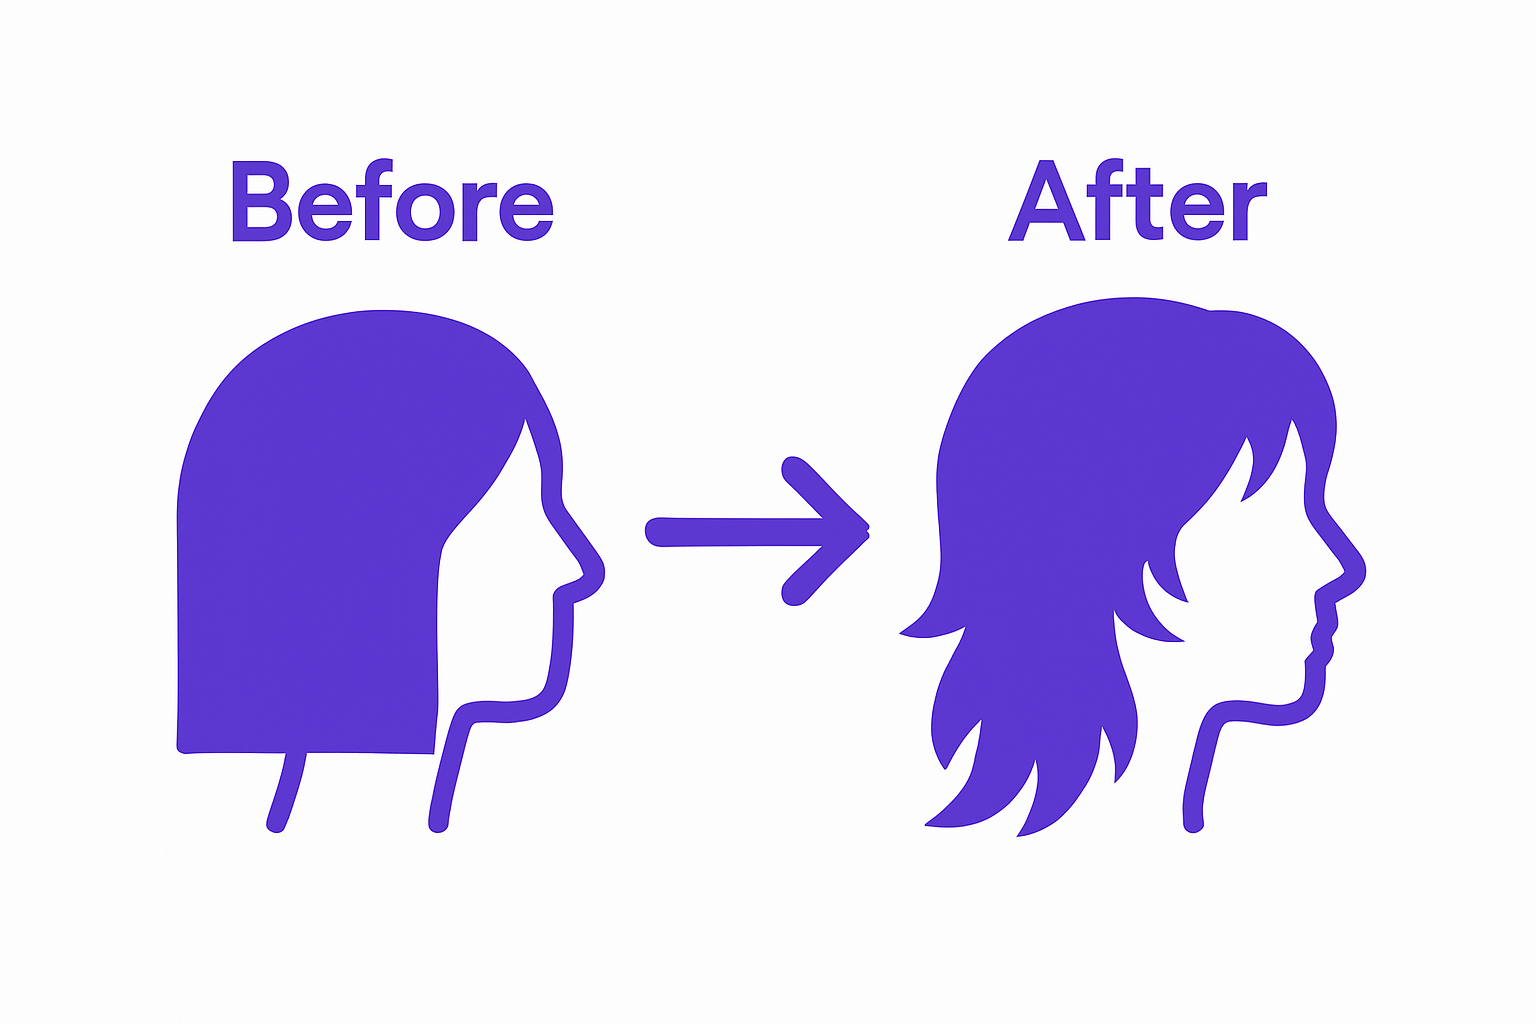
The wolf haircut has exploded in popularity with over 2.5 million hashtags on TikTok and salons everywhere are getting requests for this edgy, textured style. Most people think mastering the wolf cut requires salon-level expertise or expensive professional help. The reality is, you can create a jaw-dropping wolf haircut at home with just a few key tools and some simple steps.
Table of Contents
- Step 1: Gather Essential Styling Tools And Products
- Step 2: Prepare Your Hair For Cutting
- Step 3: Cut Your Hair Into The Shag-Mullet Shape
- Step 4: Texturize And Layer For Volume
- Step 5: Style Your Hair To Enhance The Wolf Look
- Step 6: Check And Finalize Your New Haircut
Quick Summary
| Key Point | Explanation |
|---|---|
| 1. Assemble essential styling tools | Gather hair clippers, professional scissors, and texturizing sprays to create the wolf haircut effectively. |
| 2. Prepare hair properly before cutting | Clean hair ensures precise cutting and helps see your hair’s natural texture for better results. |
| 3. Use strategic cutting techniques | Employ point-cutting methods and work in small sections to achieve the signature shag-mullet shape. |
| 4. Texturize for volume and movement | Use thinning shears and texturizing products to create layered depth while avoiding heavy sections. |
| 5. Finalize and assess your haircut | Examine your haircut from multiple angles and make small adjustments for a balanced and dynamic appearance. |
Step 1: Gather Essential Styling Tools and Products
Creating the perfect wolf haircut requires strategic preparation and the right arsenal of styling tools. Before diving into the transformation, understanding which equipment will help you achieve that effortless, textured look is crucial. Professional stylists recommend assembling a comprehensive toolkit that enables precise cutting and styling techniques specific to this trendy shag-mullet hybrid.
To begin, you will need several key tools that will make your wolf haircut experience smooth and professional. Hair clippers with multiple guard lengths are essential for creating the distinctive layered effect. Select a set that offers varied cutting lengths between 1/4 inch and 1 inch, allowing you to create nuanced texture variations. Alongside clippers, invest in sharp professional scissors designed specifically for hair cutting – these will help you refine edges and create clean, deliberate lines characteristic of the wolf cut.
Your styling toolkit should also include specific products that enhance the cut’s natural movement and texture. A quality texturizing spray will be your secret weapon in achieving that perfectly tousled, lived-in appearance. Look for products that provide medium hold without making hair feel stiff or crunchy. Additionally, a lightweight hair pomade or styling cream will help you define individual layers and add dimension to your wolf haircut.
According to research from the Hair Science Institute, selecting tools matched to your specific hair type dramatically improves styling outcomes. For individuals with thicker hair, opt for more robust clippers with powerful motors, while those with fine hair might prefer gentler, more precise cutting instruments.
Prepare your workspace by laying out all tools on a clean, well-lit surface. This includes your chosen clippers, scissors, styling products, a large mirror, hair clips for sectioning, a spray bottle for dampening hair, and a clean towel. Having everything within reach will make the styling process more efficient and enjoyable.
Here is a quick-reference table summarizing the core tools and products needed to achieve the wolf haircut at home, along with their main purpose in the haircutting process.
| Tool/Product | Description | Purpose |
|---|---|---|
| Hair Clippers (1/4"–1" guards) | Adjustable for different lengths | Create layered effects and shape |
| Sharp Professional Scissors | Haircutting grade, sharp edges | Trim and refine lines and layers |
| Thinning Shears/Razor Comb | Specialized for reducing bulk | Texturize and create natural movement |
| Texturizing Spray/Powder | Medium hold, not stiff or crunchy | Enhance volume, separation, and tousle |
| Lightweight Pomade/Cream | Non-greasy, adds definition | Define layers, add dimension |
| Hair Clips | Strong grip | Section hair for precise cutting |
| Spray Bottle | Mist for dampening | Maintain slight moisture when cutting |
| Towel | Clean, absorbent | Keep workspace tidy, dry hair as needed |
Step 2: Prepare Your Hair for Cutting
Preparing your hair is a critical stage in achieving the perfect wolf haircut, where precision and careful technique set the foundation for an outstanding result. Clean hair provides the most accurate canvas for cutting, ensuring that your styling tools interact smoothly with each strand and allowing you to see the natural texture and movement of your hair.
Begin by thoroughly washing your hair with a clarifying shampoo that removes any product buildup, excess oils, and residue. Choose a shampoo that matches your specific hair type – whether you have fine, thick, curly, or straight hair. After shampooing, apply a lightweight conditioner focusing on the ends to maintain hair health without weighing down the roots. Gently towel dry your hair, removing excess moisture while maintaining some dampness that helps with precise cutting.
Section your hair systematically to ensure an even cut. Use hair clips to divide your hair into manageable quadrants – typically splitting hair down the middle from forehead to nape, then creating horizontal sections from ear to ear. This approach allows you to work methodically and maintain symmetry throughout the cutting process. Professional stylists recommend working with small, controlled sections to achieve the intricate layering characteristic of the wolf haircut.
According to Consumer Reports’ hair styling guidelines, positioning is crucial when preparing to cut your own hair. Set up near a well-lit mirror with a hand mirror positioned to help you see the back of your head. Ensure you have a comfortable, stable stance that allows fluid arm movement. Brush or comb your hair thoroughly to remove any tangles and create a smooth, even surface that will guide your cutting technique.
Before making any cuts, take a moment to visualize the final wolf haircut style. Run your fingers through your hair, understanding its natural fall and movement. This preparatory step helps you identify which areas will require more aggressive texturing and where you want to maintain length. Mentally mapping your desired outcome prevents impulsive cutting and ensures a more deliberate, professional-looking result.
This table gives a high-level overview of each main step in the wolf haircut process, what it involves, and a summary of the key outcome or focus for that stage.
| Step | What You Do | Key Result/Focus |
|---|---|---|
| Gather Tools & Products | Assemble clippers, scissors, sprays, pomade, clips | All tools within easy reach, ready to use |
| Prepare Hair | Wash, lightly condition, towel dry, section | Clean, tangle-free, evenly parted hair |
| Cut into Shag-Mullet Shape | Point-cut sections, angle scissors, work gradually | Signature layered wolf cut base |
| Texturize & Layer | Use thinning shears/razor, add texturizing spray | Light volume and movement, blended layers |
| Style for Wolf Look | Curl/wave, break curls by hand, add finishing cream | Tousled, defined, effortless appearance |
| Check & Finalize | Examine in mirrors, make minimal small adjustments | Refined, personalized wolf haircut |
Step 3: Cut Your Hair into the Shag-Mullet Shape
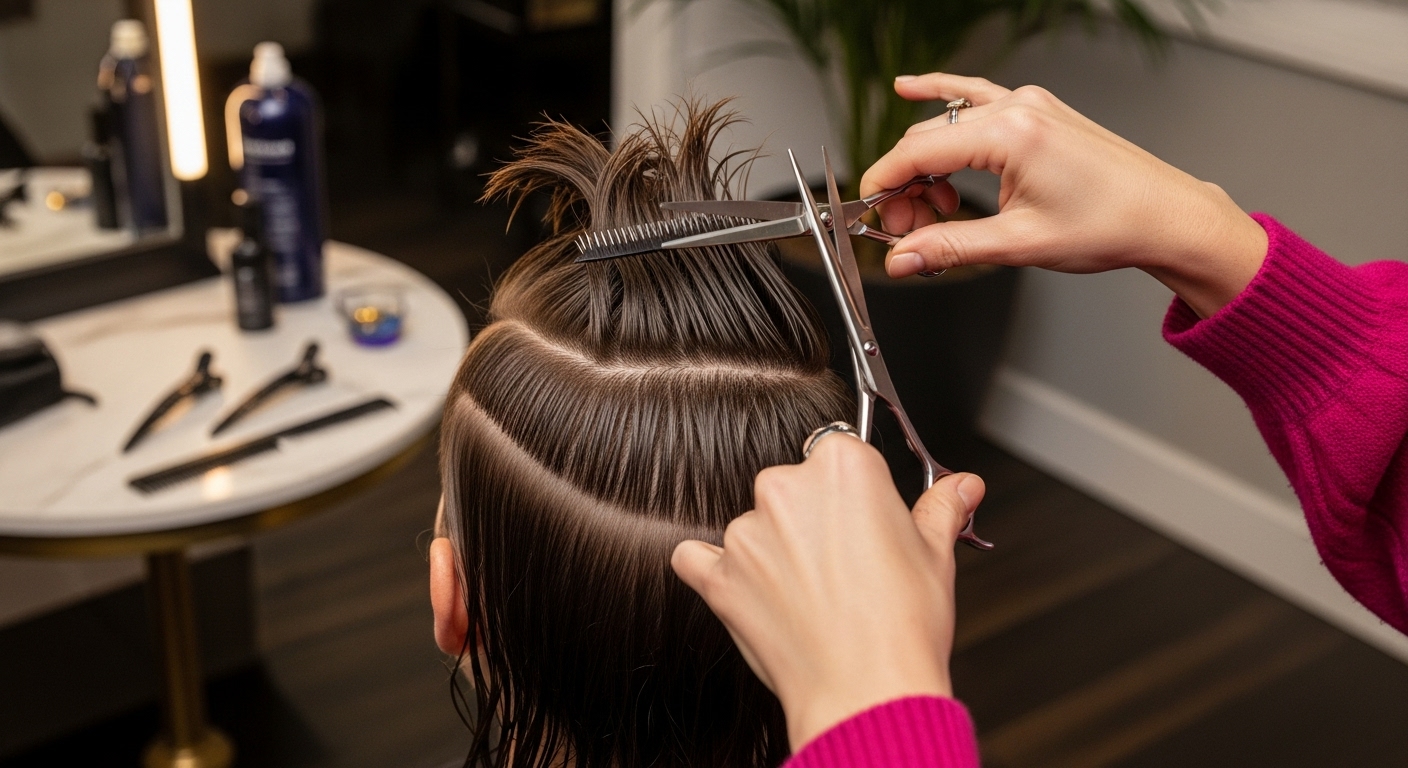
Transforming your hair into the iconic wolf cut requires precision, patience, and a strategic approach to cutting. The key to achieving this trendy style is understanding the unique layering technique that creates the signature shag-mullet hybrid look. Begin by working with the top section of your hair, which will define the overall shape and texture of the wolf cut.
Start at the crown of your head, using hair clips to section off the top portion of hair. Hold your scissors at a slight angle to create soft, textured layers that blend seamlessly. The goal is to create a graduated effect where shorter layers frame the face, gradually becoming longer towards the back. Use point-cutting techniques – cutting into the hair at an angle rather than straight across – to achieve that effortless, lived-in texture that defines the wolf cut.
Moving to the side sections, create diagonal cutting lines that help blend the top layers with the sides. This is where the mullet aspect of the style becomes most prominent. Use your fingers as a guide, cutting slightly longer pieces that create movement and softness around the face. Pay special attention to the area around your ears, ensuring the layers create a smooth transition between the shorter top sections and longer back sections.
According to the Gilder Lehrman Institute’s hair styling guide, the lower section requires careful attention to maintain the cut’s distinctive shape. Use thinning shears to remove bulk and create additional texture, focusing on connecting the layers to ensure a cohesive look. Work slowly and deliberately, checking your progress frequently in the mirror and making small, precise adjustments.
To verify you’ve achieved the correct wolf cut shape, step back and examine your hair from multiple angles. The style should feature shorter, more textured layers on top that gradually lengthen towards the back, creating a dynamic, multi-dimensional appearance.
 Run your fingers through the layers to check for smooth transitions and balanced length.
 If you notice any uneven sections, make minor corrections using your scissors, always cutting less than you think you need – you can always trim more, but you can’t add length back once it’s cut.
Step 4: Texturize and Layer for Volume
Texturizing is the secret weapon that transforms a basic haircut into a dynamic, lived-in wolf cut. The goal is to create movement, depth, and that effortlessly cool, tousled appearance that makes the wolf haircut so distinctive. This step requires careful technique and the right styling products to achieve the perfect balance of volume and texture.
Begin by using thinning shears or a razor comb to remove bulk and create soft, seamless layers. Work systematically through your hair, holding sections at a 45-degree angle and making gentle, point-cut motions that break up solid lines and create natural-looking texture. Focus on the top and crown areas, where volume is most critical. The key is to create controlled chaos – you want layers that look intentionally messy but maintain a structured overall shape.
Apply a texturizing powder or dry spray to add instant volume and grip to your hair. These products are game-changers for creating that perfectly undone look.
Work the product into your roots and throughout the layers, using your fingers to lift and separate. Massage the product at the crown to create maximum lift and definition. For those with fine hair, this technique can create the illusion of much fuller, more voluminous locks.
According to research on hair volumizing techniques, the strategic placement of layers is crucial in creating the illusion of volume. Pay special attention to blending different layer lengths, ensuring smooth transitions that prevent any harsh lines or obvious cutting points. Use a combination of cutting techniques – some sections slightly shorter, others left longer – to create a natural, multidimensional effect that catches light and creates movement.
To verify your texturizing is successful, shake out your hair and observe how it falls. The wolf cut should have a natural, slightly disheveled appearance with plenty of movement. Run your fingers through the layers, checking for smooth transitions and ensuring no section feels too heavy or flat. If needed, make minor adjustments with your thinning shears, always cutting conservatively to maintain the cut’s overall shape and intention.
Step 5: Style Your Hair to Enhance the Wolf Look
Styling a wolf haircut is an art form that transforms your carefully crafted cut into a statement-making look. The right styling technique can elevate your wolf cut from basic to absolutely extraordinary, bringing out the dynamic layers and textured movement that define this trendy hairstyle. Your goal is to enhance the natural texture while creating a deliberately tousled, effortless appearance.
Begin by applying a heat protectant spray to prevent damage, then use a medium-barrel curling iron or wave wand to create soft, lived-in waves. The key is to alternate the direction of your curls, avoiding uniform ringlets that can look too structured. Start at the roots and wrap random sections of hair, leaving the ends slightly straight to maintain that signature wolf cut edginess. Work in small, manageable sections, focusing on creating varied texture that looks naturally messy rather than perfectly styled.
Once you’ve created your initial waves, break up the curls with your fingers instead of using a brush. This technique prevents the waves from becoming too uniform and maintains the cut’s rebellious spirit. Apply a texturizing spray directly to the roots and throughout the layers, lifting sections and creating volume. Scrunch the product into your hair, using your hands to create additional movement and definition. For those with naturally straight hair, this step is crucial in achieving the wolf cut’s characteristic tousled look.
To complete the styling, use a small amount of lightweight pomade or styling cream to define individual layers and add a piece-y, lived-in texture. Focus on the ends and face-framing layers, using your fingertips to separate and define. The goal is to create a look that appears effortless yet intentional – as if you’ve just rolled out of bed looking impossibly cool.
Verify your styling success by checking the overall silhouette in a full-length mirror. The wolf cut should have visible movement, with layers that seem to dance and shift with every turn of your head. Your final look should feel simultaneously edgy and soft, with a perfect balance between structured cutting and deliberately messy styling. If any sections feel too perfect, break them up with your fingers or an additional spritz of texturizing spray to maintain that signature wolf cut attitude.
Step 6: Check and Finalize Your New Haircut
The final stage of creating your wolf haircut is a critical moment of assessment and refinement. This is where your artistic vision comes together, transforming a technical cutting process into a personalized style that reflects your unique personality. Take a deep breath and prepare to scrutinize your hard work with a critical yet compassionate eye.
Position yourself in front of a full-length mirror with additional handheld mirrors to examine your haircut from every possible angle. Natural lighting is your best friend during this evaluation, as it reveals subtle nuances that artificial light might conceal. Start by checking the symmetry of your layers, ensuring that the top sections blend seamlessly with the side and back sections. Look for any uneven lines or unexpected bulk that might disrupt the wolf cut’s signature fluid movement.
Use your styling tools – scissors, thinning shears, and clippers – to make final, minimal adjustments. Tiny corrections can make a significant difference in the overall appearance of your cut. Focus on softening any harsh lines around the ears and neck, using point-cutting techniques to create a more natural, lived-in look. Pay special attention to the face-framing layers, ensuring they complement your facial structure and provide the right amount of movement and texture.
According to professional hairdressing standards, the final evaluation should include a comprehensive review of the haircut’s alignment with your original vision. Shake out your hair, style it differently, and observe how the layers move and interact. The wolf cut should feel dynamic and adaptable – looking equally fantastic whether you’re wearing it tousled and messy or more deliberately styled.
To verify your wolf cut’s success, take a few selfies from different angles and in various lighting conditions. This not only helps you appreciate your new look but also allows you to identify any areas that might need further refinement. Remember that perfection is less important than personality – the wolf cut is all about embracing a slightly undone, rebellious aesthetic that celebrates individual style. If you’re 80-90% satisfied, consider your mission accomplished and rock your new look with confidence.
Master the Wolf Cut and Effortless Style with BreezyTips
Struggling with uneven layers, lack of confidence, or trouble achieving that perfect wolf haircut you spotted online? If you find yourself overwhelmed by complex styling techniques or confused about which tools make the process easier, you are not alone. Many readers want that bold, textured wolf haircut but worry about getting it right at home. Our article breaks down each step from using professional scissors to blending layers for volume. Still, it is easy to get lost in details or feel unsure about the results.
Do not let frustration hold you back from nailing the viral shag-mullet look. With BreezyTips.com, you get more than just styling guides. Our platform features simple, actionable tips for fixing everyday problems, whether they show up in your hairstyle or in daily routines. Explore our latest blog posts for fresh beauty solutions, practical hacks, and expert insights that make every day easier. Start unlocking confidence and creativity in your personal style—visit BreezyTips now and discover your next breakthrough.
Frequently Asked Questions
What tools do I need to create a wolf haircut?
To achieve a wolf haircut, you’ll need hair clippers with multiple guard lengths, sharp professional scissors, a texturizing spray, a lightweight pomade or styling cream, hair clips, a spray bottle for dampening hair, and a clean towel.
How do I prepare my hair before cutting it into a wolf cut?
Before cutting your hair, wash it with a clarifying shampoo to remove buildup, apply a lightweight conditioner, and towel dry your hair, leaving it slightly damp. Section your hair into manageable quadrants using clips for an even cut.
What cutting techniques are essential for achieving the wolf haircut style?
The key techniques include point cutting at an angle to create soft, textured layers and using diagonal cutting lines to blend the hair. Thinning shears can also be used to remove bulk and create additional texture.
How can I style my wolf haircut for a tousled look?
Apply heat protectant spray, then use a medium-barrel curling iron to create soft waves. Break up the curls with your fingers, and finish with a texturizing spray and lightweight pomade to enhance texture and volume.