Skip to content
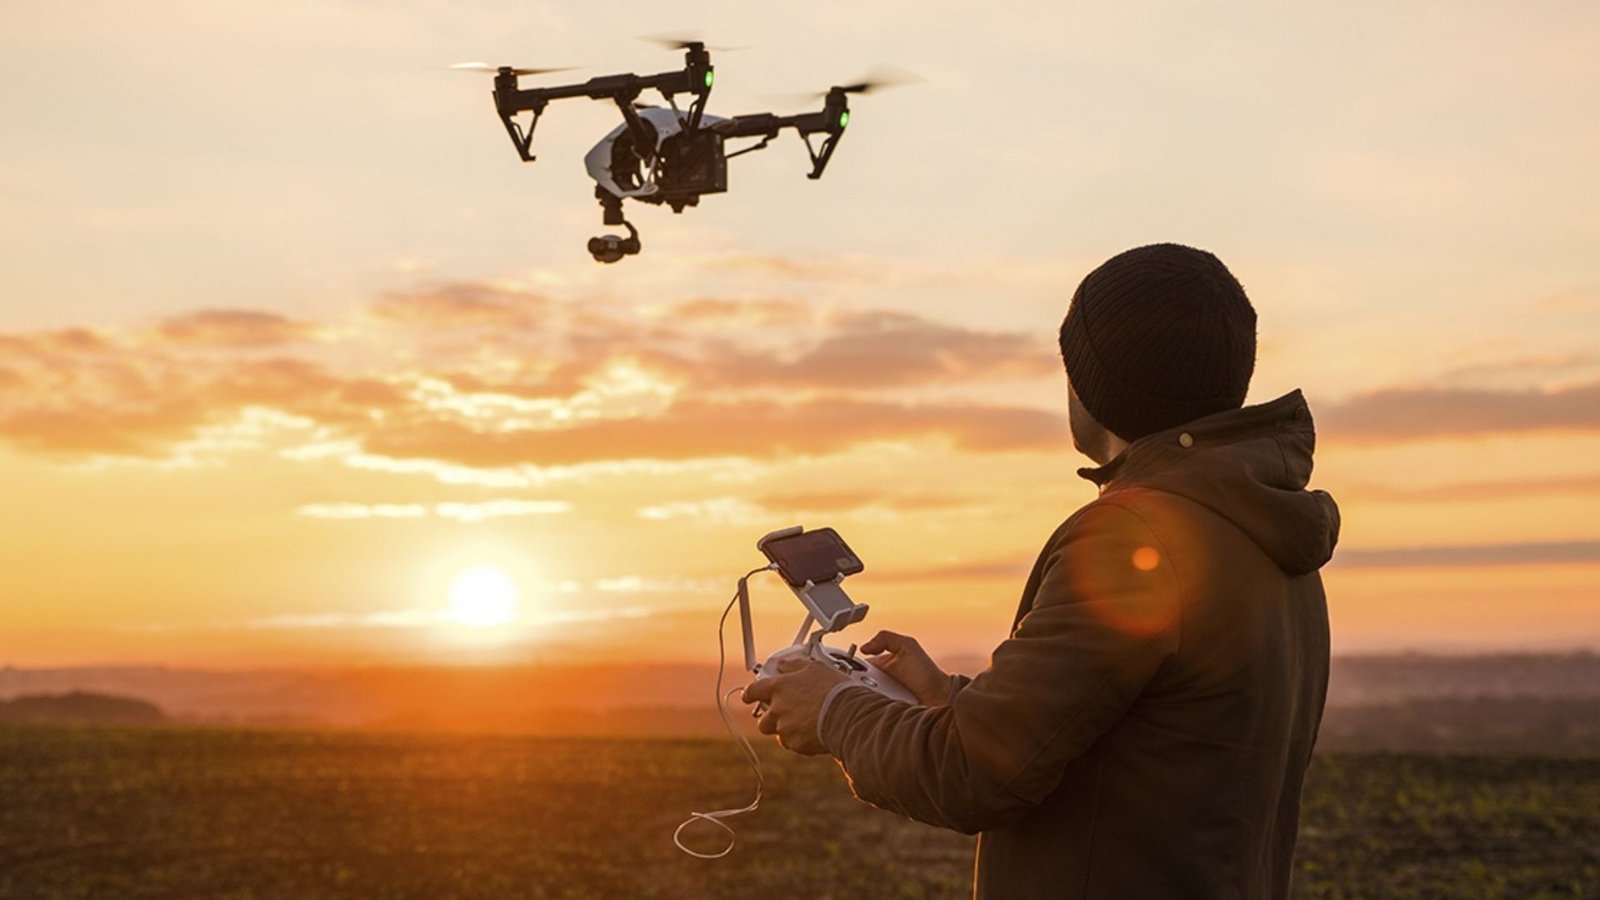
The sky is no longer the limit for photography; it’s the canvas. Drone Photography has transformed the way we view and capture the world, offering breathtaking perspectives previously reserved for professional pilots and filmmakers. What once seemed like a costly, complicated endeavor is now accessible to the passionate amateur, thanks to advancements in compact, user-friendly drone technology.
If you’ve been contemplating joining the ranks of aerial artists, this guide is your essential blueprint. We’ll cover the must-have gear for beginners and provide practical flying tips to ensure your first few flights are safe, legal, and result in stunning images. Mastering the art of Drone Photography requires practice, but with the right knowledge, you can take to the skies confidently and capture your world from a brand-new angle.
Table of Contents
Part 1: Essential Gear for Your Drone Photography Journey
Getting started in Drone Photography doesn’t mean shelling out thousands of dollars. Modern technology has provided entry-level options that pack professional-grade cameras into lightweight, portable bodies. Here’s the gear you’ll need:
1. The Drone: Prioritizing Portability and Camera Quality
For the amateur focused on photography, the best drone is one you will actually carry with you. Look for models under the 250-gram weight threshold, as this classification often bypasses certain registration requirements in many regions (like the U.S. FAA’s Part 107 for recreational use).
- Top Beginner Picks: Drones like the DJI Mini series are extremely popular because they are lightweight, offer excellent stability, and feature high-quality 4K video and RAW photo capabilities. The small form factor makes them easy to transport.
- Key Specs to Look For:
- Camera Sensor: Aim for a 1/2.3-inch sensor or larger. The bigger the sensor, the better the low-light performance and overall image quality.
- Gimbal: Ensure your drone has a 3-axis mechanical gimbal. This is non-negotiable for smooth, professional-looking Drone Photography and video. Electronic stabilization (EIS) isn’t enough.
- Battery Life: Look for a minimum flight time of 25-30 minutes. Real-world flight time is always less than the advertised max, and you need ample time to fly, compose the shot, and return safely.
- Obstacle Sensing: While not foolproof, sensors (especially forward and downward-facing ones) are vital safety nets for beginners.
2. Controller and Mobile Device
The drone is useless without the controller and the screen to view your shots.
- Controller: Most modern drone controllers require a smartphone to be attached. Ensure your phone screen is bright enough to see outdoors.
- Smartphone/Tablet: A device with a bright screen and fast processor is necessary to handle the real-time video feed and flight data. For tips on managing your phone’s performance for optimal Drone Photography use, check out our guide on device optimization for tech hobbies.
3. Essential Photography Accessories
The right accessories can transform a good aerial shot into a great one.
- Neutral Density (ND) Filters: These are absolutely crucial for videography and highly recommended for long-exposure Drone Photography. ND filters are like sunglasses for your camera lens, reducing the amount of light hitting the sensor. This allows you to use slower shutter speeds to achieve cinematic motion blur in video (often using the 180-degree rule) or smooth out water/clouds in stills. Buy a set with various densities (e.g., ND4, ND8, ND16, ND32).
- Extra Batteries: This is perhaps the most important purchase after the drone itself. A 30-minute flight time translates to about 20-25 usable minutes. Having at least two extra charged batteries allows you to truly focus on the shot without rushing back, dramatically improving your output in Drone Photography.
- High-Speed SD Cards: The drone’s camera captures high-resolution video (4K or higher) and large RAW photo files. You need an SD card rated for high-speed writing (U3 or V30 rating minimum) to avoid dropped frames or failed recordings. For a deeper look into the technical specs of memory cards, visit our guide on understanding memory card speeds.
Part 2: Critical Pre-Flight Safety and Legal Know-How
Before you launch, you must understand the rules of the sky. Safety and compliance are non-negotiable pillars of responsible Drone Photography.
4. Check the Weather and Wind Conditions 🌤️
Never fly in rain, fog, or extreme cold/heat. Critically, always check the wind speed.
- Wind Rule: Most consumer drones should not be flown in sustained winds above 15-20 mph (24-32 kph). Wind speed also increases significantly with altitude, so even if it feels calm on the ground, it can be hazardous at 200 feet. Use a dedicated drone weather app (like UAV Forecast) that provides wind speed at various altitudes. A sudden gust can easily push a lightweight drone off course and lead to a crash.
5. Know the Law: Airspace and Registration
Ignorance of the law is not an excuse. Drone Photography operates within regulated airspace.
- No-Fly Zones: You cannot fly near airports, military bases, critical infrastructure (power plants, prisons), or major sporting events. Use official governmental or app-based maps (like B4UFLY in the US) to confirm airspace restrictions before every flight.
- The 400-Foot Rule: In most places, recreational pilots must stay below 400 feet (120 meters) above ground level.
- Visual Line of Sight (VLOS): You must always keep your drone in sight without the aid of binoculars. This is a crucial safety and legal rule for all amateur pilots.
- Registration (Commercial vs. Recreational): If your drone weighs over 250 grams, it must be registered with the relevant national aviation authority (e.g., the FAA in the US). If you ever plan to monetize your Drone Photography (selling prints, shooting for a client, etc.), you must obtain a commercial license (e.g., FAA Part 107 in the US). For detailed and up-to-date legal requirements on drone operations, consult the Federal Aviation Administration’s official site [External Link to FAA or equivalent high-traffic government aviation site].
6. The Pre-Flight Checklist
Make this a routine before every launch.
- Check Physical Integrity: Are the propellers attached securely and free of damage? Is the battery locked in? Is the camera gimbal lock removed?
- Software Check: Ensure the drone, controller, and app firmware are all updated.
- GPS Lock: Wait until the app reports 10+ satellite signals and confirm the Home Point (RTH) has been recorded before taking off.
- Calibrate: Calibrate the compass only if the app requests it or if you travel a significant distance (e.g., cross-country).
Part 3: Mastering the Art of Aerial Composition
Flying the drone is only half the battle; capturing compelling Drone Photography is the real skill. The aerial perspective demands a new way of thinking about composition.
7. Look Down: The Top-Down (Nadir) Shot 📐
One of the most unique aspects of Drone Photography is the ability to shoot straight down (the Nadir view).
- Seek Patterns and Textures: Look for agricultural fields, parking lots, unique rooflines, or natural formations like canyons and sand dunes. Shooting straight down eliminates perspective distortion and emphasizes abstract patterns, lines, and textures.
- Compositional Power: Use the Rule of Thirds and Leading Lines, but also think about how negative space and symmetry are used from above.
8. Use Leading Lines from Above
Lines are even more powerful from the air. Roads, rivers, shorelines, or rows of crops can all serve as leading lines to draw the viewer’s eye deep into the frame. Fly the drone to position these natural or man-made lines perfectly according to established photographic rules.
9. Vary Altitude and Angle
Don’t just fly high. The best Drone Photography often occurs at low altitudes (30 to 150 feet) where you can still interact with the landscape elements like trees, cliffs, or waves. Experiment with the camera’s tilt (pitch) as well:
- Low Angle (0-45°): Great for emphasizing foreground elements and scale.
- Medium Angle (45-75°): Ideal for capturing depth and the relationship between ground features and the horizon.
- High Angle (75-90°): Excellent for abstract, top-down compositions.
10. The Magic of Golden Hour
Just like traditional photography, the best light for Drone Photography is during the Golden Hour—shortly after sunrise and shortly before sunset.
- Shadows and Texture: Low sun angles create long, dramatic shadows that reveal the texture and topography of the landscape, adding depth and three-dimensionality that is lost in the harsh light of midday.
- Color Palette: The warm, saturated colors of the sky and the soft, diffuse light create a magical atmosphere.
Part 4: Advanced Tips for Flight and Post-Processing
As you get comfortable, these advanced steps will push the quality of your Drone Photography to the next level.
11. Shoot in RAW Format
Always configure your drone camera to shoot in RAW (DNG) format for still images. Unlike JPEGs, RAW files contain all the data captured by the sensor, giving you maximum flexibility to recover details in shadows and highlights, adjust white balance, and fine-tune colors during post-processing. This is essential for professional-quality Drone Photography.
12. Master Exposure Bracketing
Because the dynamic range (the difference between the brightest and darkest areas) is often vast in aerial scenes (bright sky, dark ground), it can be difficult to capture detail in both.
- AEB (Auto Exposure Bracketing): Use your drone’s AEB feature to capture three or five images at different exposures (one normal, one underexposed, one overexposed). You can then combine these photos in post-processing (HDR technique) to create a single image with perfect exposure across the entire frame.
13. Practice Cinematic Movements
For videography, practice slow, deliberate movements. Drone Photography video is about movement, and the most captivating footage uses smooth, controlled maneuvers.
- The Orbit: Flying a perfect circle around a subject while keeping the camera locked on it.
- The Reveal: Starting close to an object (like a cliff face) and slowly ascending and flying backward to reveal the vast landscape behind it.
- The Dolly Zoom (or Vertigo Effect): A more advanced move where you fly backward while zooming in (or vice versa) to distort perspective.
For more technical guidance on the fundamentals of composition that apply to all forms of imagery, including Drone Photography, be sure to check out our in-depth articles on photo composition at photo composition guides.
14. Insure Your Investment
Accidents happen. Whether due to pilot error, unexpected wind gusts, or technical failure, a drone crash is expensive. Consider drone insurance (often called “refresh” or “care” programs by manufacturers) or dedicated third-party liability insurance. This protects your substantial investment and provides peace of mind while you’re focused on capturing amazing shots.
Conclusion: Elevate Your Perspective
Drone Photography is one of the most exciting and rapidly evolving fields in modern image-making. It offers a license to create images that challenge the viewer’s perspective and capture the scale and majesty of the world in a way traditional cameras simply cannot match. Starting as an amateur is easier than ever, but success comes down to a few key principles: using the right gear (especially ND filters and extra batteries), rigidly following safety and legal protocols, and obsessively practicing composition from above.
By mastering these essential gear choices and flying tips, you’re not just learning to operate a drone; you’re unlocking a new artistic tool. The world is waiting to be seen from above—go fly responsibly and capture the stunning aerial vistas that await! For continued inspiration and a gallery of amazing Drone Photography and video from around the globe, check out the community and resources at a top industry site like DJI’s SkyPixel platform